Saturday, May 31, 2014

Sigma Dry 'N Shape Review

Hi everyone!

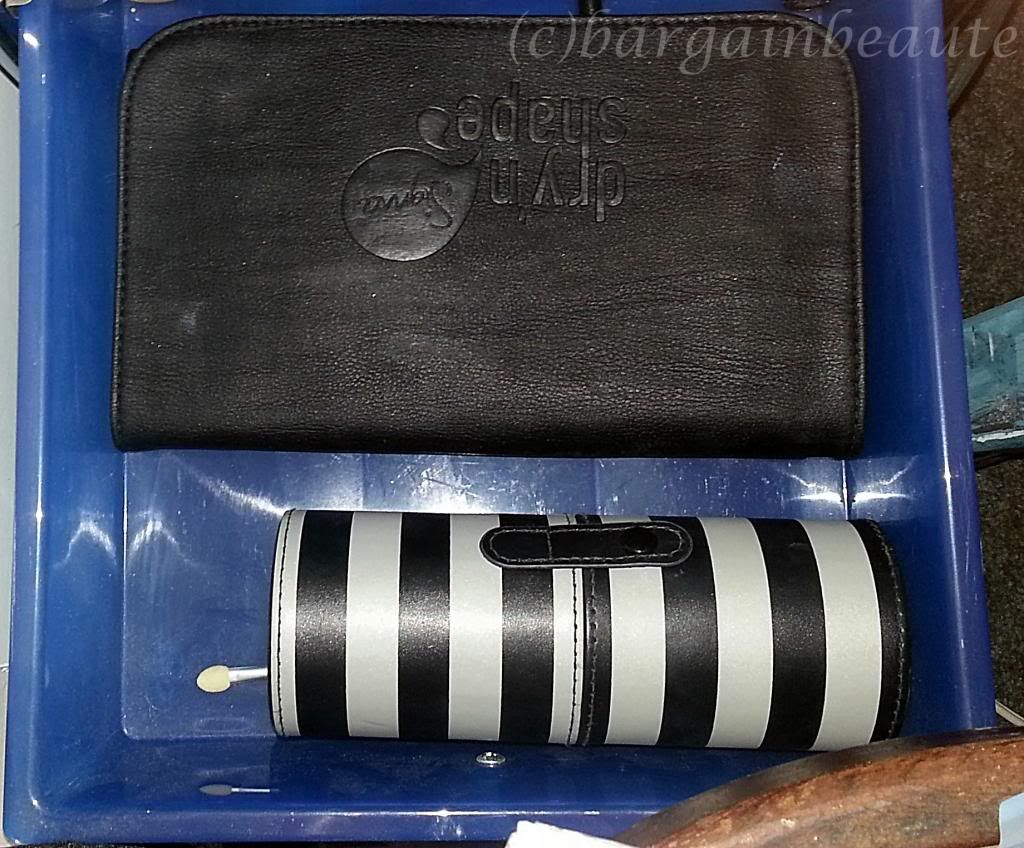
So today I am going to be doing a little review and impression about the Sigma Dry 'N Shape.


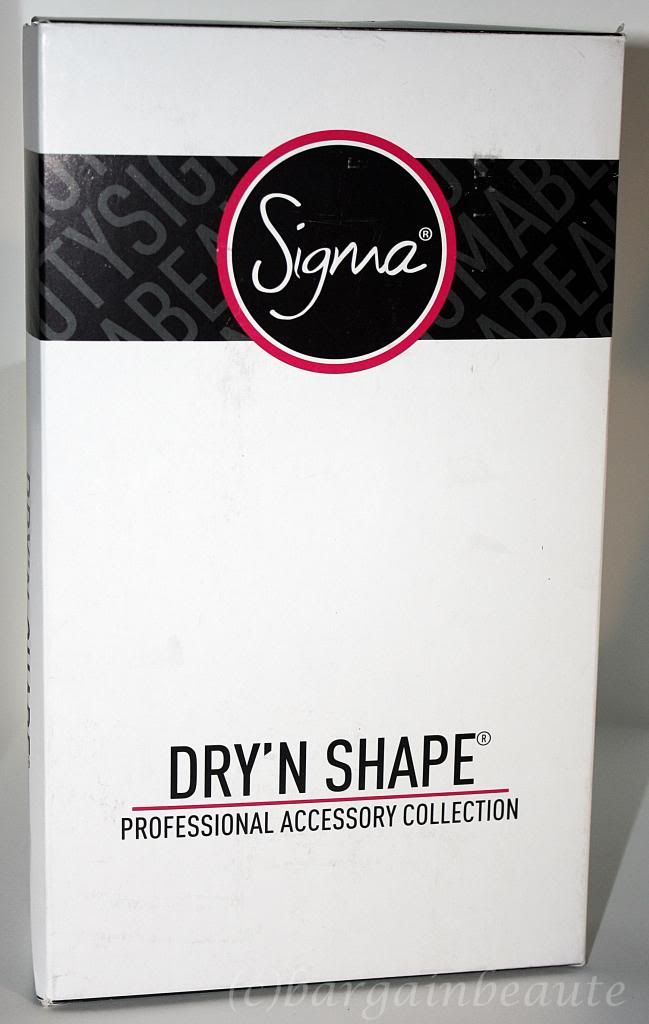
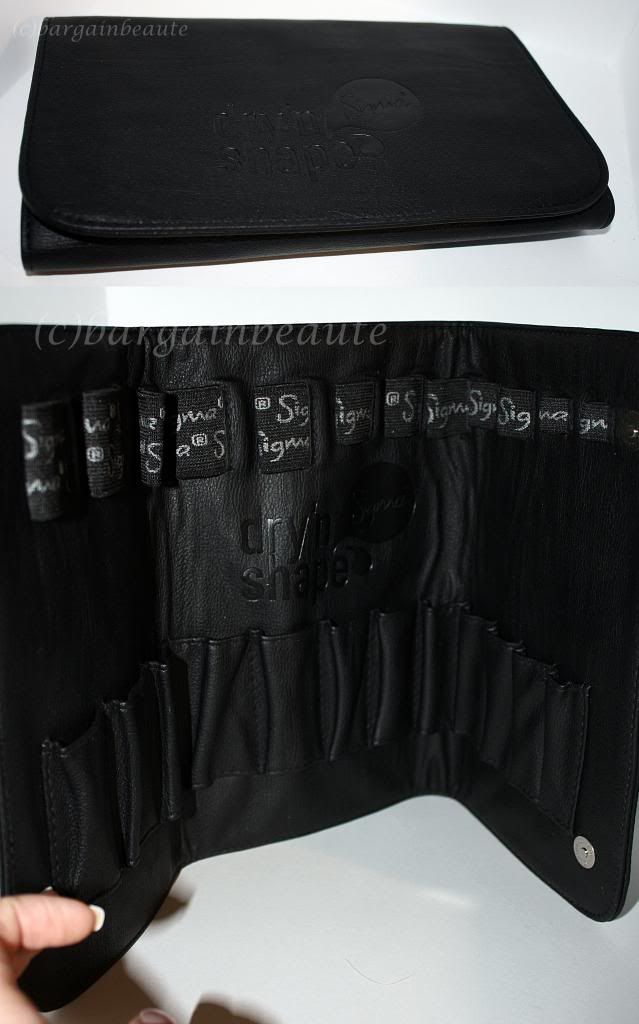
If you don't know, the Sigma Dry 'N Shape is a product... similar to a brush roll, that has "special" elastic bands the brush bristles go in and is supposed to make your brushes dry faster after washing them. The box promises that even the most thick and dense brushes will be dry between 4 and 6 hours.


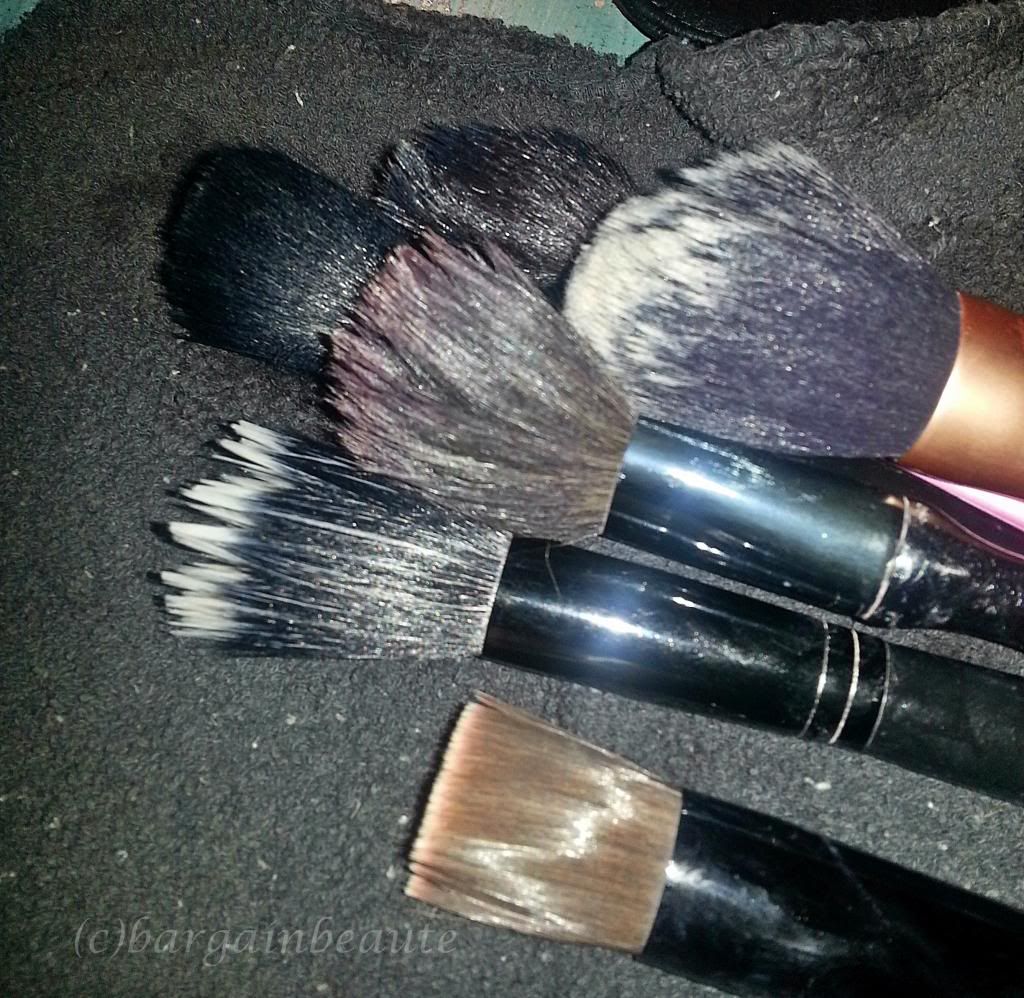
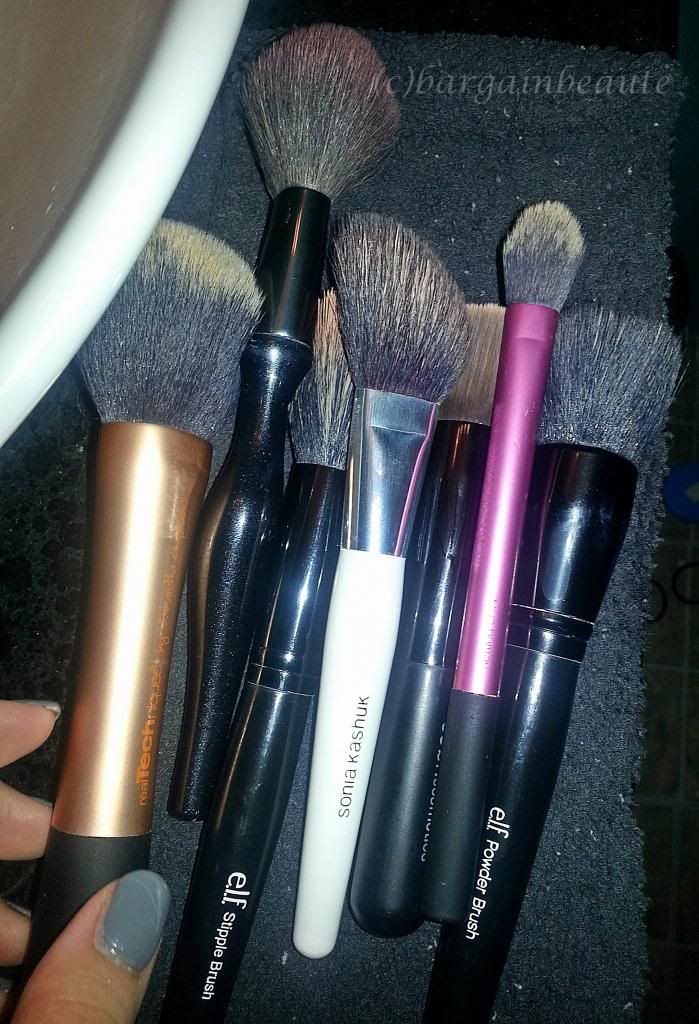
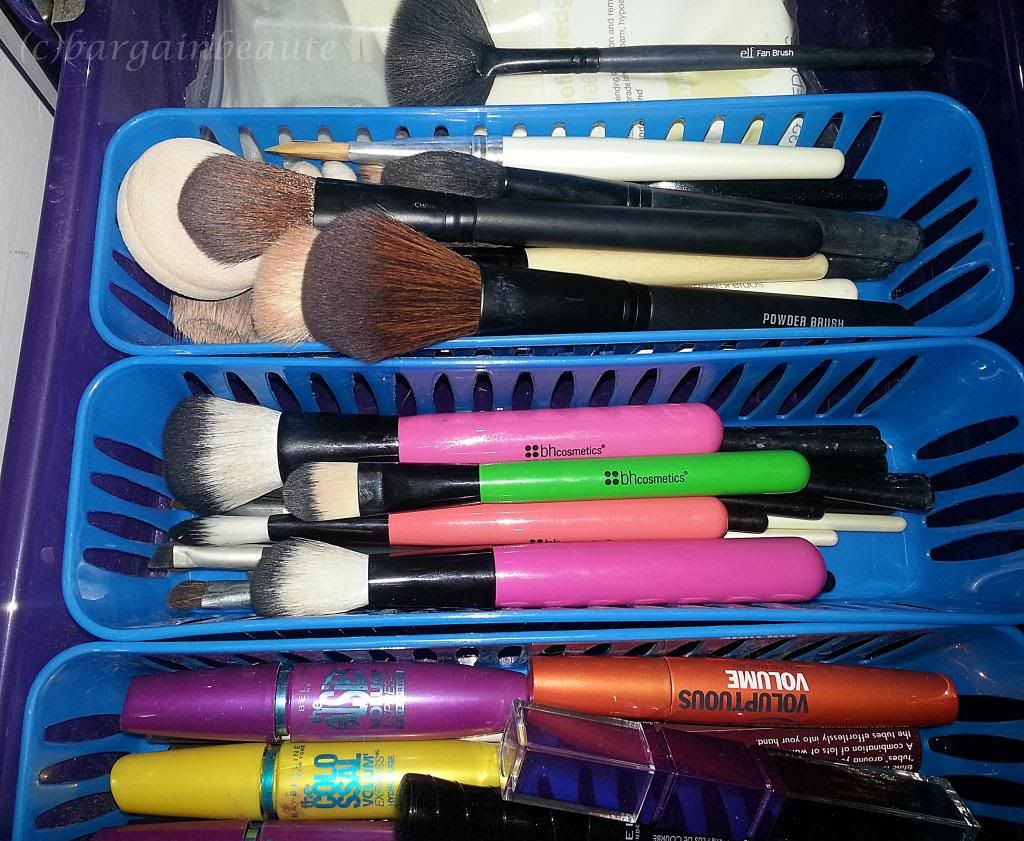
So here are some wet brushes face brushes that i just finished washing (from my last post where I talked about how I wash my brushes).


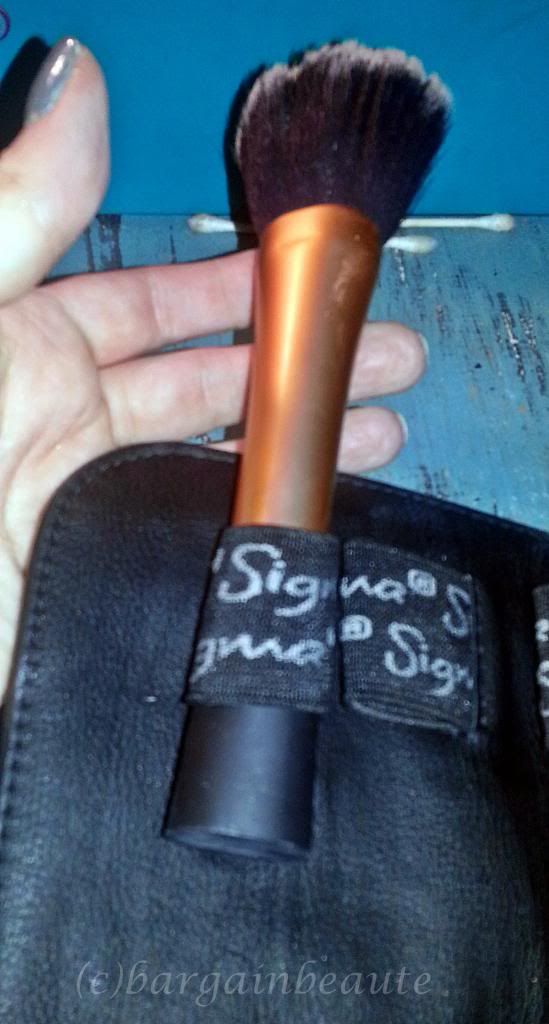
So, according to the Dry 'N Shape instructions, you slide your wet brush handle first through the smallest elastic band that it will fit in, so that the bristles will be held really tightly in the band.....


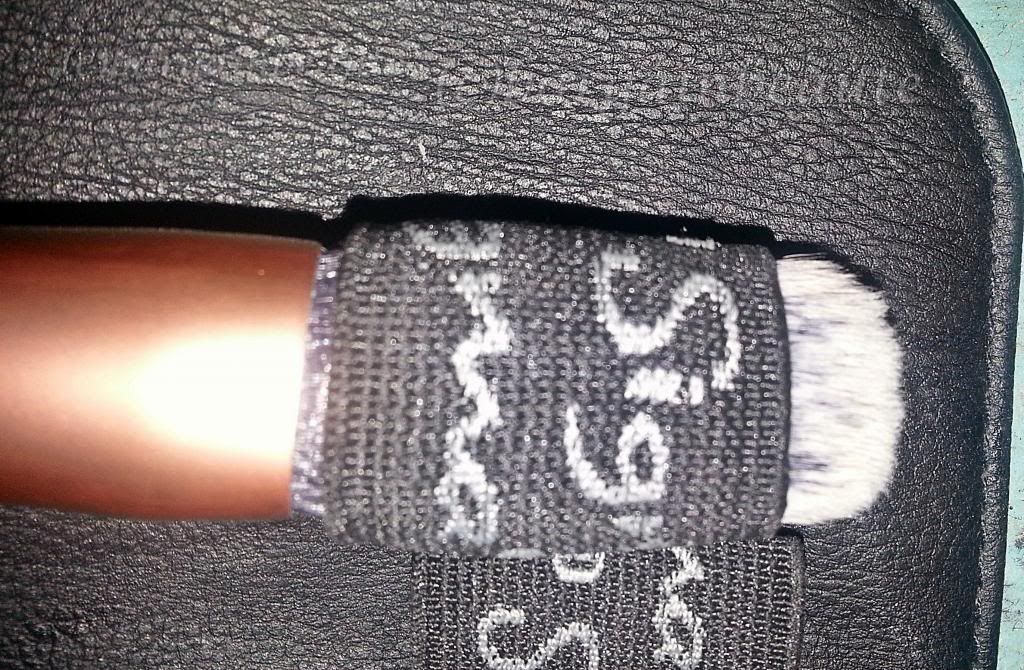
.... something like this.


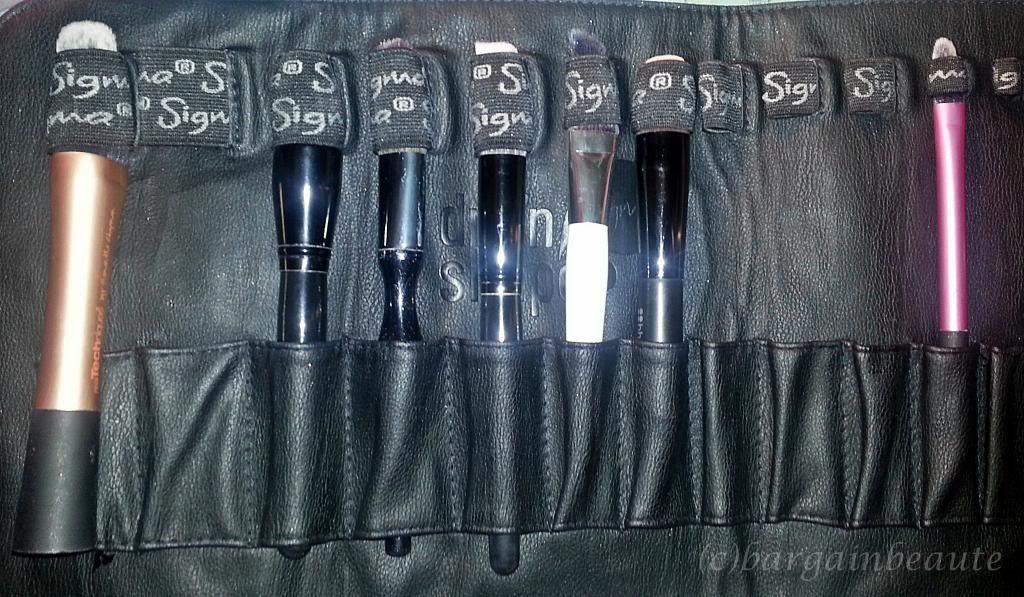
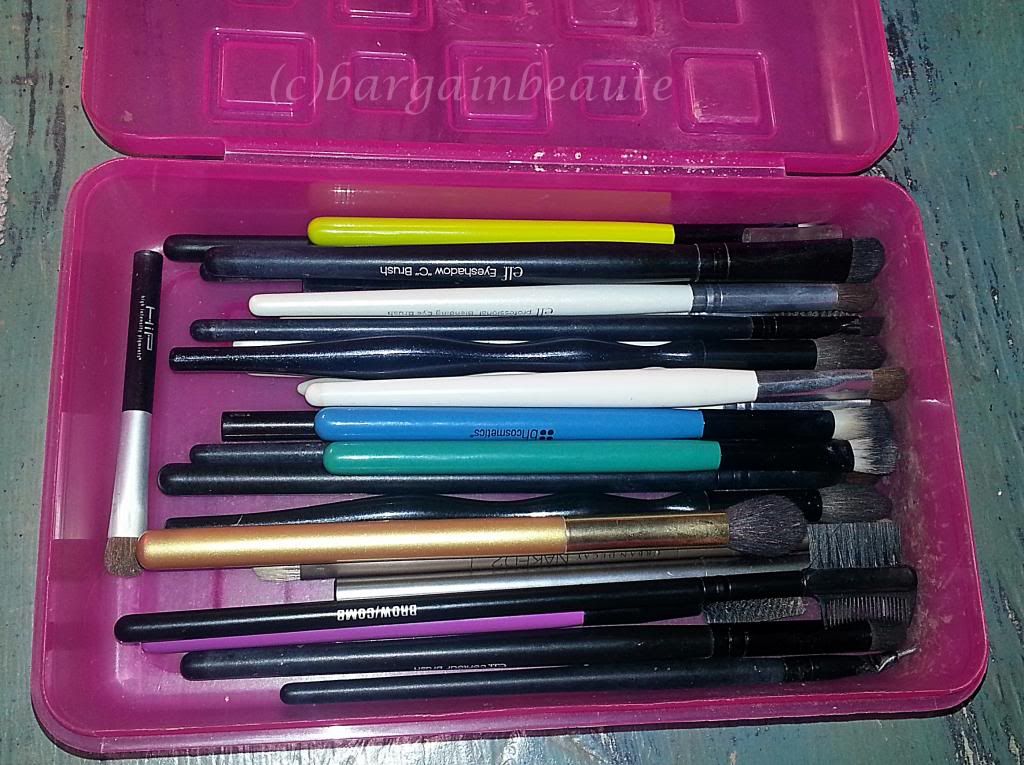
And this is all my brushes I did to try this out. The bottom of my powder brush was too thick to but in the holder at the bottom.


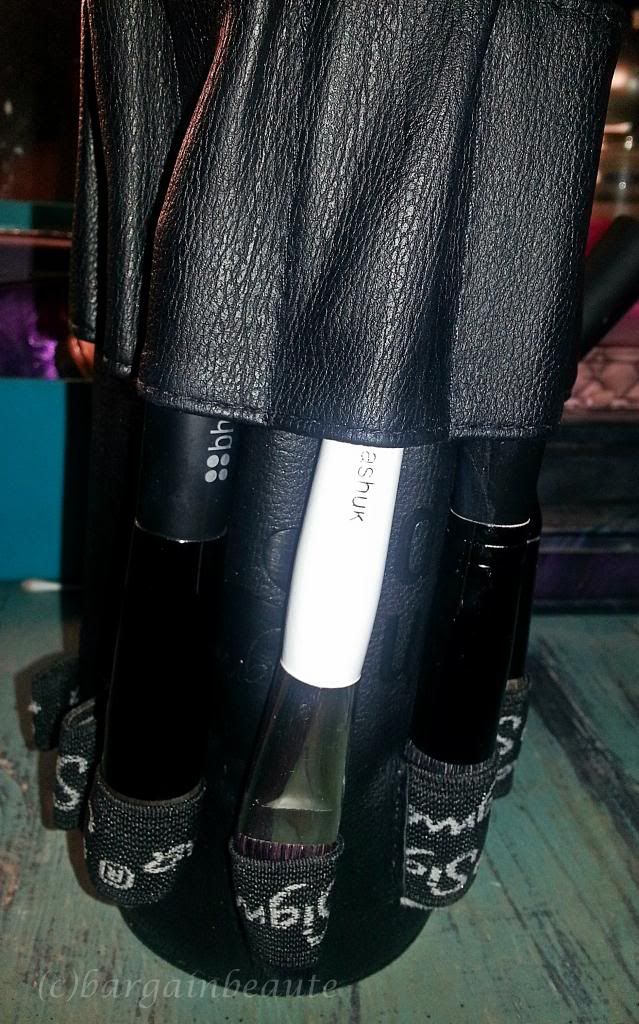
I then rolled the Dry 'N Shape backwards and snapped it so I could stand it upside down - this way any water would not drip back into the ferrule and mess up the glue holding the bristles together.

Did they dry in time...
 
So... I then waited for 6 hours before checking my brushes.... and only a couple of them were dry... I was really disappointed, because obviously, the guarantee of the product was not true. So I let the rest of them stay in over night. by this point it was about 18 hours that they had set. I checked them again in the morning... and no... still not all of them were dry.

By this time I am pretty furious because this product is not doing what it promised to do. It took over 3 days before all of my brushes were completely dry... Which is normal waiting time for really thick brushes (always have backup brushes ladies)... so this product didn't do anything to speed up the process like it promised.


The only thing it did do was reshape my brushes really nicely. At least it did one thing it promised to do.

The Bottom Line:

I would NOT buy or recommend this product in any way. I have never been so disappointed in a product... especially since this cost $30!!!!

If I could return it, I would, but I ordered mine off of Amazon so I could use a gift card.

Since I have to keep it, I will use it for reshaping purposes... but it is not worth it at all.

My bf recommended next time to try and run a blow dryer over the elastics while the brushes are in there to see if that helps.... but it is definitely something I shouldn't have to do with such a pricey product.  


Hope everyone is having a beautiful day! (Despite such a bad review post lol)


**Note: This review is solely my own personal opinion. This item was purchased by me and I was in no way asked to write this review.
**All images are my own (c)bargainbeaute

Thursday, May 29, 2014

How I Clean My Brushes

Hi everyone!

Today I'm going to be doing a little "how to" post. Something that is always kind of a source of stress for me is deep cleaning my brushes. I have tried a variety of brush washing techniques throughout the years, and I can't say that I have loved many of them... I have even destroyed a few brushes as a result. Well... it was about time I give them a good cleaning, and I actually didn't ruin any brushes this time and everything turned out well!


So these are the brushes that I washed for this post... all of my most used face brushes. I spot clean the majority of my face brushes every time I use them... but sometimes (as you can see) they need a deeper clean. This helps prevent the spread of bacteria and all that nasty jazz.


First off... I made sure that I had a good stream of water coming out of my faucet... hard enough that it gets your brushes nice and wet, but not so hard that the water will splash everywhere. Then I am just started wetting the first brush.

SUPER IMPORTANT NOTE: Always hold the brush at a downward angle so water does not run into the ferrule (the piece of metal between the handle of the brush and the bristles). If water gets into this portion of the brush, the glue will likely come loose and the bristles will start falling out. That's noooooo good.


To clean my brushes, I ended up using a variety of products: elf's brush shampoo, baby shampoo, and eye makeup remover.

I started off only using the brush shampoo, but it didn't lather enough for my liking, so I tried the baby shampoo, which did lather, but wasn't breaking up all of the makeup as quickly as I wanted it to, so I tried the makeup remover.... which worked wonders, but made the brushes a little greasy... so I ended up using a combo of it and the shampoo.

Whoa... long explanation you probably didn't care about. So here is a simplified version of my steps:

1. Wet the brush
2. Poured a little makeup remover in the palm of my hand and swirled my brush in it. (Next time I will be buying a cheaper remover just for brush cleaning).
3. Continued swirling and rinsing the brush until all of the makeup was broken up and rinsed out of the bristles.
4. Then I added a little baby shampoo into my palm, swirled the brush in it, and then massaged the shampoo into the bristles. I did this because while the makeup remover did an utterly amazing job at breaking up the makeup, it left the brush a little oily.
5. I then rinsed the brush until all the later came out and the bristles rinsed clean.
6. I then washed the bristles a second time with the elf brush shampoo. This is a step you could skip if you wanted to... but I'm a little bit of a germ freak, and this shampoo is supposed to be antibacterial, so that's why I did it.


This is just a before and after of cleaning one of my brushes with the makeup remover The top just shows the tiny amount of makeup remover I used to clean the brush, and the bottom shows how much product came out of the bristles... ewwies...

When you dry your brushes, make sure you do not stand your brushes up in a cup, because again, water can drip down into the ferrule and ruin your brushes. I personally used the Sigma Dry 'N Shape (for the first time) to dry my brushes. I will be doing a review on that product next, so stay tuned for that if you are curious.


Do any of you have a good method for washing your brushes? Did this help at all? Let me know in the comments down below :)

Hope everyone is having a beautiful day!


**Note: This review is solely my own personal opinion. This item was purchased by me and I was in no way asked to write this review.
**All images are my own (c)bargainbeaute


Tuesday, May 27, 2014

May Walmart Clothing Haul

Hi everyone!

Today I wanted to share with you little clothing "haul" that I picked up at Walmart last week. I normally don't buy a lot of clothes from Walmart... I never really see anything that I like that I think is worth spending money on... but I just so happened to find several pieces I liked, and maybe you will like too!

Sorry I forgot to take a group photo of everything... so we'll just hop into it!


This is actually the piece that I saw which pulled me into clothing department while I was there. I just thought this was a very fun and bright tank for the summer. It's thin and kind of loose, so it's really good for layering without being too bulky. I believe this was $7.99.


This next piece is something that will be versatile for me personally. I work in an office that is pretty  business casual, so for me I feel this is a piece that can be dressed up or down depending on the situation. The shirt is knit with short sleeves, long, and a little baggy. It did come with the infinity scarf in the picture... which I didn't love at first, but when I tried on the shirt without it.. I felt like it definitely needed it. This shirt/scarf combo was $8.99.


The next piece is a short sleeved cardigan/shrug... thingy. I don't really know what to call this.. but you know those open shirts you wear over other shirts to make them look a little dressier lol. Anyway, this one is a little long (covers the booty), is super light weight, sheer, and soft. Again, since I work in an office, this a perfect piece for me, or anyone looking to dress up a shirt a bit. This was also $8.99.


Next is this polka dot dress. The shape (which I know you can't see too well :/) reminds me very much of a 1950's style. The waist is very high up, and the flares out a bit as it goes down, and on me it sits right above the knee. This dress comes strapless, but includes thin straps which can be attached to little loops inside the dress is you want that look, which I thought was really nice - makes the piece a little more versatile. This dress was $14.99.


First off, I want to apologize for the bad picture. The cream colored lace behind this dress is not part of the outfit. This dress was too long to take a pic of on my bed, so I hung it up without thinking about how the other crap behind it would make it look.

Anyway, so this dress was probably the nicest piece that I picked up. It's lace, with a really pretty pattern, with a heavier "slip" underneath the lace, and it falls right around the knee on me. This is another one of those pieces that I feel can be dressed a little more up or down depending on what you want. This dress was also $14.99... which I feel was the best deal I got out of this haul.

I will be posting pics of me wearing all of these in the days to come so you can get a better idea of what they look like on, since that's kind of hard from flat pictures on a bed lol.

Hope everyone is having a beautiful day!


**Note: This review is solely my own personal opinion. This item was purchased by me and I was in no way asked to write this review.
**All images are my own (c)bargainbeaute

Sunday, May 25, 2014

Makeup Storage and Organization Part 2

Hi everyone!

Today I will going over part 2 of my makeup storage/organization by showing you how I organized my makeup in the storage cart featured in my first storage/organization post.


I picked up this 10 drawer cart at Micheal's Arts and Crafts about 2 years ago. I think the original price was around $60, but they are always running 40% off regularly priced items coupon deal; so I was able to get it far cheaper. I have also seen these at other craft and home-good stores, so they shouldn't be too hard to find if you like it. I have also seen an all white one if you don't like the super rainbow-y one.


In my top drawer I have some hair supplies: a couple of curling irons, barrettes, hair bands, bobby pins, and headbands.

 I have the headbands in a small basket I got at the Dollar Tree. I think there were 2 or 3 baskets bundled together for $1. These baskets are featured throughout the rest of the post in various sizes.


The second drawer has scarves (I use as headbands) and bandanas (that I also use as headbands).
I find most of my scarves and bandannas at dollar stores and the dollar spot section at Target.


The next drawer has eyeshadows and few backup eye products (mascara, eyeliner, primer, etc.).
The front bin has higher end shadow pots, the back left bin has cream shadows, and the back right bin has smudge pots, with the front right section open for my remaining shadow palettes.


The next drawer down has three long bins in the back with pigments on the left, quads and pairs powder shadows in the middle, and elf studio single powder shadows on the right. The front space has miscellaneous eye products (large shadow compacts, gel liner, cake liner, shadow transformer, primer, glitter primer).


The next drawer down has my blushes (front bin and right side) and bronzers and highlighters (back bin). I also keep my kabuki brush in here because it didn't fit in my brush storage cup.


Down one more drawer to all the lip products. Front left bin is lipsticks, front right bin is wand applicator glosses, back left bin is lip liners and crayons, and back right bin is squeeze tube glosses.


 Next one has some miscellaneous face products that I don't use too often. Back bin has some powders, mineral powders/foundations, and BB creams - front has more powder, BB cream, tinted moisturizer, concealer, and setting spray. I also have some false lashes in there because they fit in the space well lol.


Next down holds my brush roll cup and my Sigma Dry N' Shape (review coming soon). I also keep extra makeup bags in here when I empty them out.


Second to last drawer has a lot of "extras." Front bin has extra mascaras (ones I don't love buy might need one day...), then brushes (more stuff I don't love but may come in handy), and a pack of sponges in the back.


Finally the bottom drawer is... well... full of stuff I really don't like, but can't bring myself to throw out. My boyfriend does a lot of Special FX makeup, so I like to have extra stuff on hand just in case.

Well, that wraps it up! Hope this gave you some storage and organization ideas. As you can tell this cart holds a ton of products, and I think it a great system.

How do you store your makeup? Let me know down below :)

Hope everyone is having a beautiful day!


**Note: This review is solely my own personal opinion. This item was purchased by me and I was in no way asked to write this review.
**All images are my own (c)bargainbeaute

Friday, May 23, 2014

Freeman Beauty Charcoal and Brown Sugar Mask Review

Hi everyone!

Finally getting around to doing some reviews on products from my Freeman Beauty haul I featured a few weeks ago. Today's review will be over the Charcoal and Brown Sugar Facial Polishing Mask.


It comes in a pretty large tube, 6.0 fl oz (like most of their products), and costs $3.99 (like all face products). I ordered mine off of their website because I couldn't find it in any stores (plus I had a coupon code, yay!), but some Walmarts, Walgreens, and CVS' are supposed to carry these masks.


This product is a combination mask/scrub, so it doesn't apply smoothly like most masks do. As you can see, it's more gritty in some places than others.

Another unique thing about this mask is that about 30 seconds after applying it, your face will feel very warm; but I don't personally think that feeling lasts too long. Don't freak out - the warming is just the charcoal activating and opening the pores. 

After it sits (I think the tube recommends 7 mins), you just was your face and rub the mask in like a scrub. I find this mask really makes my face feel deep cleaned and polished... just like it promises.

The Bottom Line:
 
Freeman Beauty masks are amazingly priced. You can't hardly find quality products for as low as $3.99. I highly recommend this mask (and any of their others) to add into your skincare routine.


Have any of you tried this yet? What do you think? Let me know in the comments :)

Hope everyone is having a beautiful day!


**Note: This review is solely my own personal opinion. This item was purchased by me and I was in no way asked to write this review.
**All images are my own (c)bargainbeaute

Wednesday, May 21, 2014

Makeup Storage and Organization Part 1

Hi everyone!

A while back I posted a little "spring cleaning" post of me reorganizing my makeup collection - well today I am going to show you some of what I did, and hopefully it'll help give you some ideas on how you can organize your collection if that's something you've been wanting to do.


First off here is just a little overview of my set up. My vanity was actually built custom for me by my boyfriend by re-purposing the headboard to my childhood bed, some plywood, and a crate (to make the shelf). I don't remember where we bought the mirror from.... but we painted both the vanity and mirror the same so they looked like a uniform set.

My chair was actually found on the side of the road... yeah we pick up furniture people throw out. It's an amazing way to get unique pieces... for well free. The frame was spray painted and the cushion re-upholstered.

 If you want a vanity, but don't want/can't spend a ton of money, but also don't want to build one, you can buy a boxed one. I have seen at Target and maybe Walmart some boxed vanities that you just put together yourself. To make it look less cheap when you're done, just give it a coat of paint for an instant makeover.

Then on the left I just have a craft storage cart from Michaels. I have seen similar things at several stores, but I bought mine at Michaels because I had a 40% coupon :)

One last thing before I get to the details of what's on the vanity.... I just have a clamp on desk light that I attached to my storage cart. It was like $10 from the "Back to College" stuff at Target. It's really good for makeup lighting because it's on a flexible arm, and you can twist it however you need... it just gets a bit hot... hence the fan. Well and the fan is because I live in one of the hottest places... boo.


Here's my little shelf. Nothing really too exciting here. Some hair styling products, my power nail file box, extra face cleaning wipes, and then just misc. crap lol.


Here's how I store my everyday face brushes. On the left you see I have them just in a cup... that's kinda dirty (gross I know... I should clean that). I got the cup I believe at Target a few years ago for a couple of bucks. Then as you can see on the right I have the cup in a canister....

I first got the canister because my beloved cat Misty decided one day it looked like a fun idea to steal my brushes out of the cup and chew on them. Yeah, not fun for me. A bonus besides keeping her out of my brushes is that they can't get dusty this way! Yay silver lining.

I keep the cup in the canister because the canister is so large around, they fall everywhere if I don't keep them in something smaller. So that explains my odd situation here. If you're having pet problems with brushes, maybe something to consider.


Similarly, to protect my brushes from my cat, I keep my eye brushes in a pencil box. I think I got this for $1 during "Back to School" supplies time at Target. This was cheaper than trying to find another canister and I use way more eye brushes on a regular basis, so I can just access them easier when they're laying down like this.


And that box just sits on top of my large/thick palettes. I'm not going to go into too much detail on those yet... think I'll save it for a collection style post.


This thingy is just an office file box from Target. I think it was around $8. You can probably find similar ones for cheaper if you hunt. I keep this on top of my vanity to store items I reach for the most. The back section has all of my more expensive palettes, the front left pocket has mascara, eye primer, concealers, and eye rollers, and the front right compartment has my face primer, foundation, powder, eyebrow kit, bronzer, a blush, a highlighter, and my daily brush cleaning spray.

So as you can see this thing holds quite a bit of makeup. For many people it could probably hold most or all of their makeup. Super cheap and slender organization. These dividers come in all colors and styles. You could even decorate it for a more customized look.


Lastly I just have a couple of more cups off to the side. These are small cups, like for kids/toddlers. I believe the Bambi cup on the right was from Target a few years ago and the one on the left from Dollar Tree. You can find cute cups for cheap in most stores. The cup on the right has all my pencil eye liners and the one on the left as my jumbo pencils and a couple of liquid/marker liners.

Just ignore the couple of elf products in front - just stuff I'm testing and haven't made my mind up completely about yet... so I don't know where they will permanently live.

So I hope this incredibly long storage/organization post maybe gives you some ideas on where to get started on organizing your own collection!

I will have a post on how I organized my storage cart (which was pictured here) in a separate post. If I did it here, it would just be tooooo long.

Hope everyone is having a beautiful day!!


**Note: This review is solely my own personal opinion. This item was purchased by me and I was in no way asked to write this review.
**All images are my own (c)bargainbeaute

Monday, May 19, 2014

Walmart Simply Basics Bras

Hi everyone!

Today I'm going to post something a little different... a bra haul/review. On a normal basis I wouldn't just post underwear blogs, but these were such a great deal, I just had to share!


I found this new brand of bras (well new to me anyway) at Walmart the other day.... and as you can see... they are only $3.98! Whaaaat that's a crazy amazing price for a bra! I don't even have words for how amazingly affordable that is.


Ok these are the bras that I got. I think they have attractive styles/colors and shape. What's more is they feel like they are made out really nice material. I would dare to compare them to a Victoria Secret bra.... yeah... that's pretty snazzy. They had I think 4 different kinds (like push up, demi, t-shirt, etc.), so that leaves a lil something for everyone.

That's about it... don't really have a ton more to say... I just thought this was an amazing deal and I just had to share, because if you're like me, you're always in need of a good bra that doesn't cost an arm and a leg.

Hope everyone is having a beautiful day!


**Note: This review is solely my own personal opinion. This item was purchased by me and I was in no way asked to write this review.
**All images are my own (c)bargainbeaute

Sunday, May 18, 2014

Sally Hansen Vitamin E Nail & Cuticle Oil Review

Hi everyone!

Final review in my nail supply series - Sally Hansen Vitamin E Nail & Cuticle Oil.


I think this stuff is pretty amazing. I got this at Walmart for around $3 and I think it is one of the best little nail investments I have made.

After having artificial nails on for several weeks, I knew my nails would be in rough shape after I took them off, so I picked this up in hopes that it would help them recover faster, and I think it has.

I have been using this oil about every other day or so for the past couple of weeks. It brushes on just like nail polish, so I just apply it all over my nails and on to my cuticles at night before bed and it dries within a few minutes.

Since using this oil, I have noticed that my nails feel harder/stronger and my cuticles aren't nearly as dry and flaky as they used to be. They used to always look just nasty (I know gross), but now they don't!

If you want a little something to help your nails, nail beds, and cuticles be in better shape, go out and grab some of this stuff!

Hope everyone is having a beautiful day!


**Note: This review is solely my own personal opinion. This item was purchased by me and I was in no way asked to write this review.
**All images are my own (c)bargainbeaute

Saturday, May 17, 2014

Onyx Professional 100% Pure Acetone Remover Review

Hi everyone!

Continuing my nail supply reviews... here's the Onyx Professional 100% Acetone Remover review!


I bought this at Walmart a few weeks ago for around $3 to remove my artificial (acrylic) nails. 

First off, this product is strong! I would not use this on a normal basis for regular nail polish remover. You definitely can, but it's bad for your nails and skin. Regular polish shouldn't need this strong of a remover, so if that's all you want, I would recommend something else. I usually get the store brand remover that's the purple liquid (it's the strengthening formula). 

Anyway, so like I said I used this to remove artificial nails. I poured some of this in a ceramic dish and did a rotation of soaking my nails for about 10 minutes and then filing down the acrylic and then back to soaking, followed by more filing. You get the idea.

 Utilizing this method, it took maybe an hour and a half to get all the nails off both my hands. While it did take a while, this acetone did get the job done for much cheaper than going to the salon or buying a $20+ remover. 

Hope everyone is having a beautiful day!


**Note: This review is solely my own personal opinion. This item was purchased by me and I was in no way asked to write this review.
**All images are my own (c)bargainbeaute

Bottom line - if you want to take your artificial nails off at home and don't want to spend a lot of money, this will work for you. If you just want to take off regular polish, pass this stuff up and get something less harsh for your nails.

Friday, May 16, 2014

Sally Hansen No Chip Acrylic Top Coat Review

Hi everyone!

Today I wanted to talk about the Sally Hansen Acrylic Top Coat.


I picked this up with my acrylic nail supply haul a few weeks ago, and I have used it a couple of times now, so it's time for a review! I got this at Walmart for I believe around $3.

The first thing that I noticed about this top coat is that it dries very quickly and is super shiny (which I love).

I also loved that when I applied it over my nail polish on my acrylic nails, the polish lasted for about 3 weeks without chipping. That is amazing! I have never had polish stay on so long.

However... I did notice that after I took off my acrylic nails, I tried this over polish on my natural nails... and well it did not last nearly as long. My polish actually chipped very badly after about 3 days or so.

These experiences have left me with some mixed feelings about this top coat overall... I will definitely use it the next time I do acrylic nails, but I will be sticking to a different top coat over natural nails.

Anyone else have experience with this top coat? Similar stories? Let me know in the comments!

Hope everyone is having a beautiful day!


**Note: This review is solely my own personal opinion. This item was purchased by me and I was in no way asked to write this review.
**All images are my own (c)bargainbeaute

Thursday, May 15, 2014

Nailene Artificial Nail Tip Clipper Review

Hi everyone!

Going along with the nail supply theme I seem to have going this week, today is a mini review on the Nailene Artificial Nail Clippers.


I bought these clippers at Walmart a few weeks ago when I was trimming/refilling my acrylic nails. I think these were around $3-$4 and I have to say there were a great little investment. If you like that squared off shape to artificial nails, then these work great for giving you that without too much effort.


Hope everyone is having a beautiful day!


**Note: This review is solely my own personal opinion. This item was purchased by me and I was in no way asked to write this review.
**All images are my own (c)bargainbeaute


Wednesday, May 14, 2014

Kiss Power File Deluxe Review

Hi everyone!

So today I wanted to show you Kiss Power File Deluxe. This is an electric powered nail file that I bought at Walgreens to use when I do acrylic nails at home.


As you can see from the box here - this kit is a 15 piece set; 12 of which are tips for the nail file.


Everything comes in this nice and convenient little box.


There are 4 filing disks (of different textures), 3 barrels (different sizes/grits), 4 cones (different sizes/grits), 1 buffing disk.


The back of the instruction booklet has a chart that shows all of the tips and what they are supposed to be used for - which is helpful when you first start using it, but I found playing around with each tip was also helpful.


And here's the file itself - it has two different speeds, can be used while plugged in or ran cordless off the rechargeable battery, and changes tips very easily (just by pulling them out and pushing new ones in).

This file is NOT as powerful as the ones they have at the salon by any means, but I think it pretty much gets the job done. There are tips included in this kit that do say they are specifically for use with acrylic nails; so it's not just for natural nails.

Pricing:

I picked this file up from Walgreens for $19.99. They did have a $10.49 file, but it didn't come with nearly as many tips, so that's why I chose to get the more expensive one.

The Bottom Line

I did use this when I did my acrylics at home - and while a little more power in the motor would have made the whole process a bit faster, this file did get the job done and I have to say I am pleased for the price. It's worth a try in my opinion, and if you don't like it, you can always take it back to the store.

Hope everyone is having a beautiful day!


**Note: This review is solely my own personal opinion. This item was purchased by me and I was in no way asked to write this review.
**All images are my own (c)bargainbeaute

Tuesday, May 13, 2014

Kiss Complete Salon Acrylic Kit Review

Hi everyone!

So sorry I haven't had an update in the past couple of weeks... life has been super busy!

Anyhoo.... today I'll be doing a first impressions/review/how to on the Kiss Complete Salon Acrylic Kit. I picked this up at Walgreens a few weeks ago now when I wanted to do some at home refills on my acrylic nails instead of going back to the salon.

The reason this is a part "first impressions" part "review" is because while I have used some of the products in the kit so far, like I said above, it was for refilling nails I already had on. I haven't done a full set start to finish yet.


Inside the "Complete Salon" kit, you get pretty much everything you need to your own acrylic nails at home.

 
Everything comes in a two sided plastic box...


First off is all the chemicals - the acrylic powder, liquid, primer, nail glue, and "apple fresh."

If you don't already know what each of the chemicals does I'll give you a break down below:

Nail Glue - Pretty obviously, this is what is used to glue down the artificial nail tips that come with the kit if you decide to use them.

Primer - The acrylic primer is a must to make the acrylic stick to your natural nail without lifting off. After you glue the tips on (if you use them) then you will want to put primer all over the exposed natural nail, avoiding the cuticles.

Acrylic Liquid/Powder - The combination of these two items is what makes the actual acrylic nail. You pour some of the liquid (which looks like polish remover) in the dappen dish (provided in kit) and dip the nail brush (also provided) in the liquid to moisten (draining excess off on paper towel) and then dipping the damp brush into the powder until a little ball forms. You then brush the little ball onto the nail - thus making the acrylic nail!

Apple Fresh - You are supposed to drop some of this in with the acrylic liquid when you pour it in the dappen dish so it doesn't smell as bad... but it doesn't work... your work area will still smell like you're in a nail salon for a while. Don't worry, you get used to the fumes after a while lol.


Here's a close up of the acrylic powder. It is snow white in the container, but when you mix it with the liquid and apply to the nail, it dries clear.


Here's the tools that come with the kit:

Orange Stick - to push back the cuticles

Dappen Dish - to pour the acrylic liquid in while using

Acrylic Nail Brush - to apply the acrylic to nail. I think this brush was a little too long. It worked well, but I think I'll try to find a little bit shorter brush before I use this kit again to see if that makes life easier.

Nail file - you know... to file your nails ;) I actually really like this one - it has a very rough grit, which is good for the fake nails

Buffing Block - to smooth/even out the acrylic after it has been applied to the nails.


This thingy is supposed to be a filing/shaping guide. I haven't used it yet... but I assume the little grid mark lines are so  you can ensure all your nails are the same length and have the same angles/curves.


And finally... the nail tips! They come in quite a variety of sizes and two different "colors."

There is the traditional clear-ish artificial nail tips which in the kit would be used if you plan on polishing the your nails after you're done applying them.

This kit also has opaque white tips, which you would use if you wanted the "french" manicure look. Since the powder in the kit dries clear, you'll see the white tip through the acrylic.

And that's about everything that comes in the kit (well except the instructions which I didn't take a pic of).

Pricing:

I picked this kit up at Walgreens for about $14.99.

The Bottom Line:

This kit is sooooo much cheaper than going to the nail salon. It says there is enough product to do 5 complete sets and 10 refills. I don't think you can beat that price anywhere.

When I used this kit for refilling my nails, it was fairly easy to use, but something that practice will definitely help with.

I think this kit is very reasonably priced and worth a try if you love the look of acrylic nails, but want to save some money!

When I actually do a full set on myself, I will take pictures of the process and have a more in depth how-to.

Has anyone else tried this kit? Thoughts?

Hope everyone is having a beautiful day!


**Note: This review is solely my own personal opinion. This item was purchased by me and I was in no way asked to write this review.
**All images are my own (c)bargainbeaute